In the first article of this series, we introduced the basics of setting up Goals in Google Analytics and then reviewed Destination Goals. Continuing, we discussed how to set up Events you would like to track in Google Tag Manager which must be done prior to setting up Event Goals. Event Goals are the most versatile type of goal and the topic of this article.
What are Event Goals?
An Event Goal tracks when a user completes a particular action that meets one or more conditions. Event Goals are most commonly used to track that a user clicked the submit button on a form, clicked to call you on a mobile device, or clicked an email link. You can also use Event Goals to track actions that occur on third party applications that integrate with Google Analytics.
Event Goals can be tricky to set up, and this tutorial will help you learn to set up Event Goals as well as troubleshoot them. The trickiest part is setting up the Event you would like to track before you start. Events are typically defined with one or more of the following attributes:
- Category
- Action
- Label
- Value
The Goal only triggers when each of the category, action, and label attributes is executed. The Value attribute is used to define how much that goal conversion is worth to you, which we will address more specifically later.
How to Set Up Event Goals
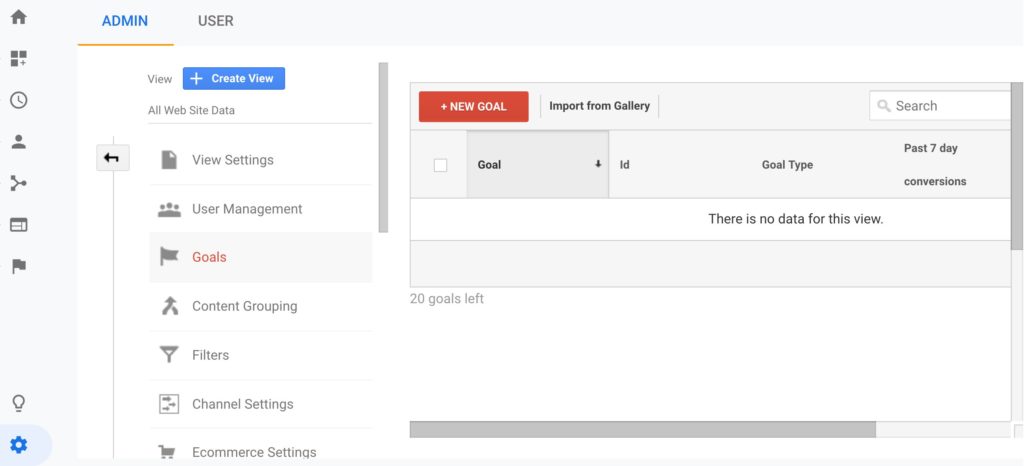
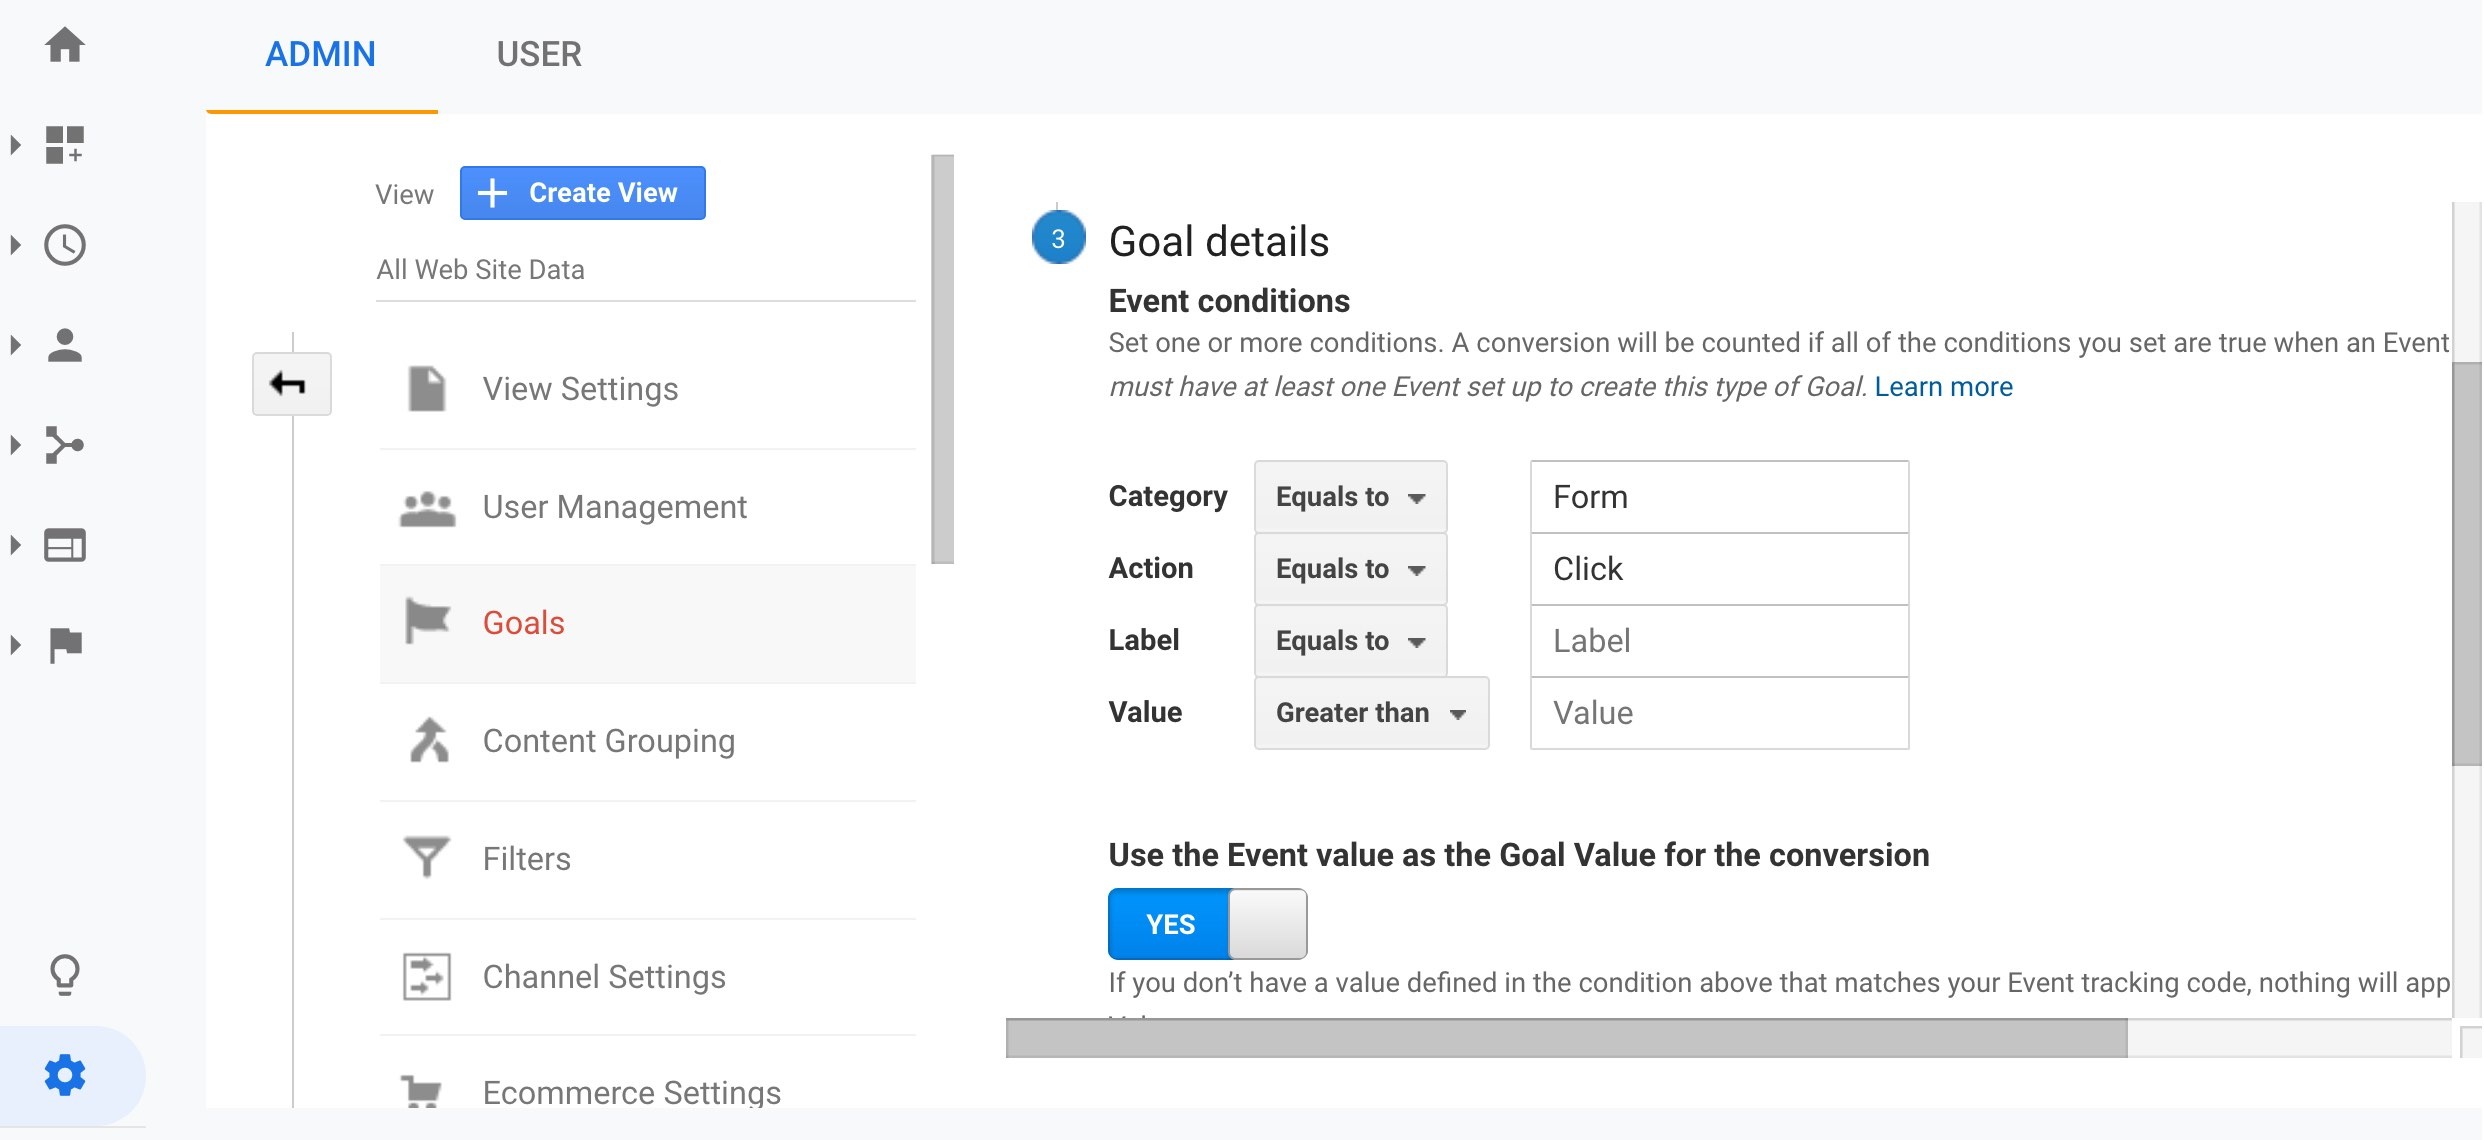
Click the Admin menu, which looks like a gear, Goals, + New Goal.
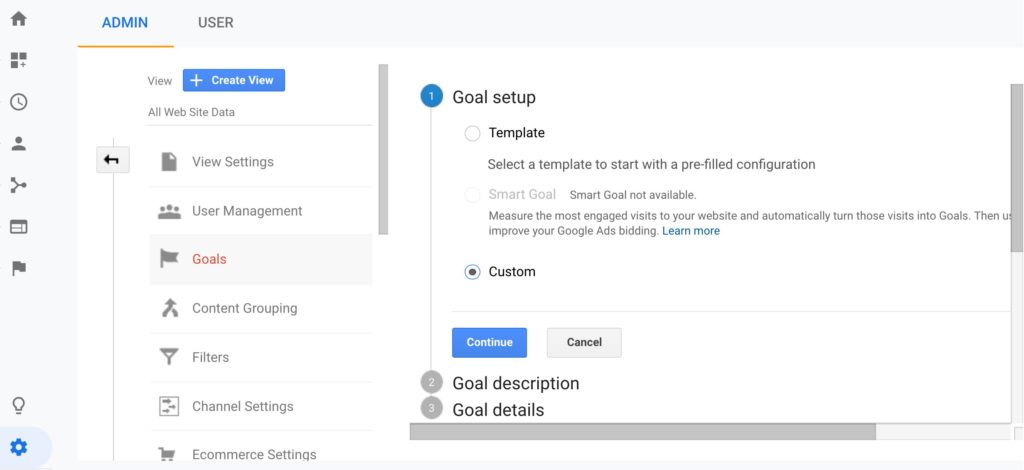
Under 1 Goal Setup, select Custom and then Continue.
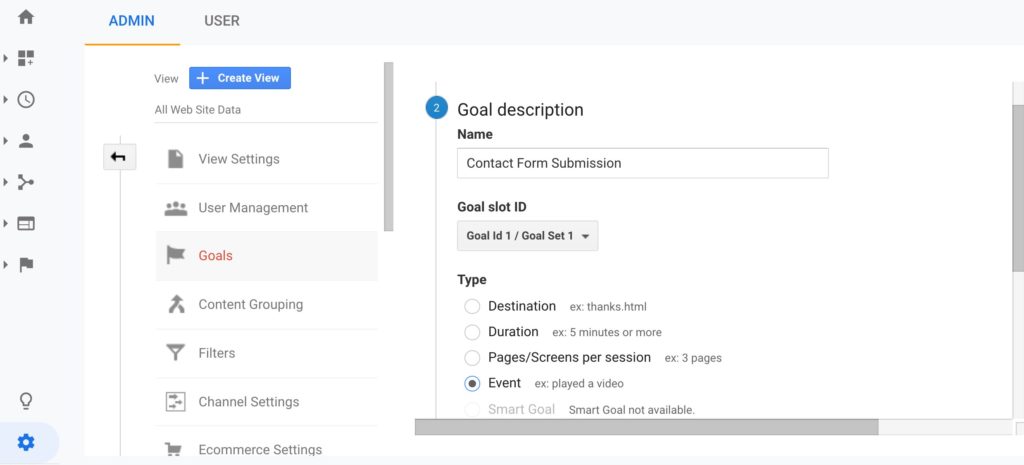
Under 2 Goal Description, enter a Goal Name. (Note: Use something you’ll recognize, for example “Contact Form Submission”).
Select Event, and then Continue.
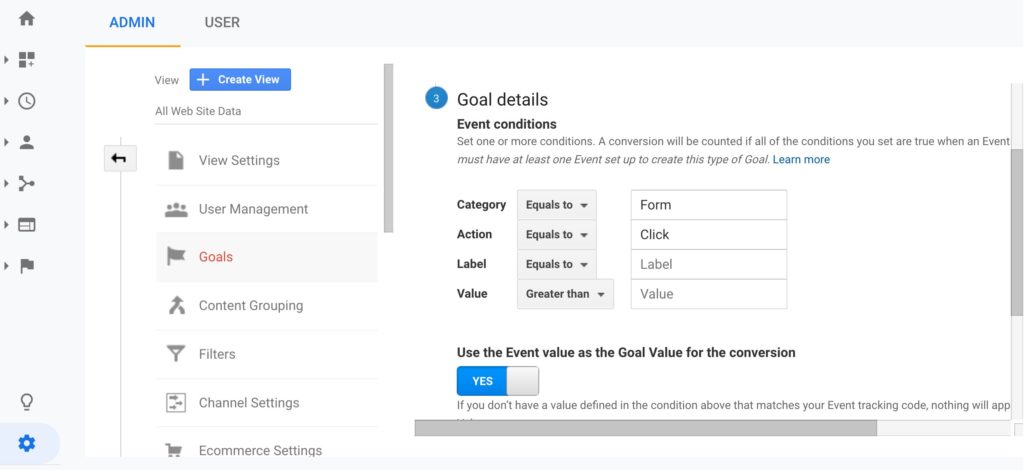
Under Goal Details, enter the Category, Action, Label, and Value of the event you want to track (Note: You can choose that they equal, begin with, or are regular expressions (or regex), which means they match a certain pattern).*
You can leave the Event Value set to Yes to assign the value that is passed by the event you set up (Note: If you want to assign a fixed dollar value to the event, click No under “Use the Event Value” as the Goal Value for the conversion and type in an amount this conversion would be worth to you) Example: if you are tracking leads, and they are worth $50, type: $50. Keep in mind it’s okay to leave Yes selected and enter nothing. Your goal will work, and you can assign a value later.
Click Save.
Testing Event Goals
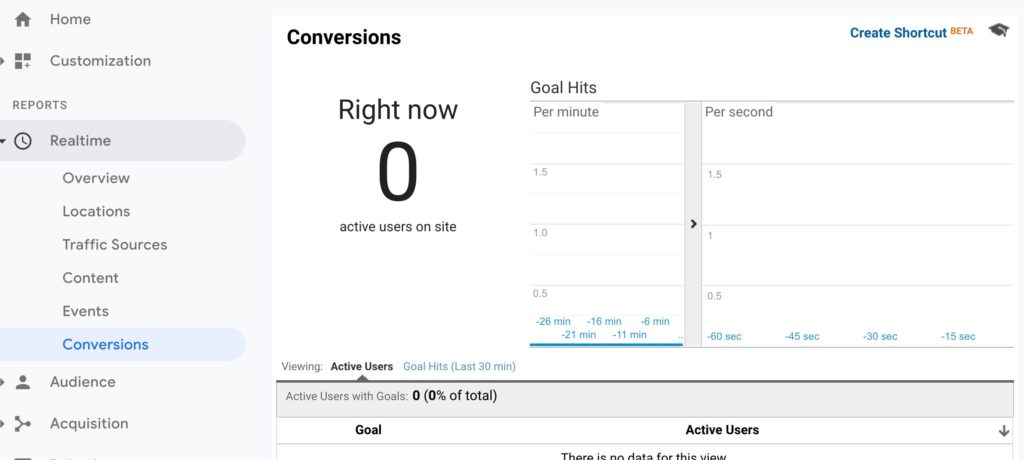
Now, test your Goal and make sure everything is set up correctly. From Google Analytics, click Real Time, then Conversions, then click the button or link that corresponds to the Event Goal you just set up. If everything was set up correctly, your goal should be recorded and you’ll know because there will be a 1 next to the goal in the Active Users column. If your Event Goal was incorrectly set up, go back into the admin and edit your goal, and confirm you followed the above seven steps exactly. If you aren’t sure you identified the proper category or action, select Real-Time and then Events and look to see what Event Category and Event Action were recorded. Keep in mind events are case sensitive and need to be defined precisely.
If this seems confusing and you are just interested in tracking contact forms or completed order forms that navigate to a thank you page, you might want to consider using Destination Goals which some find a little simpler to set up. We show you how to set up Destination Goals here, so you can compare both conversion tracking methods before you start.
Stuck? Just post a comment below and our Jess Experts will help you out.
*You will most likely not use a Regular Expression, so don’t let this stress you out. We will cover that in future articles.
Don’t miss out on our next tutorial! Please subscribe to our marketing newsletter.


0 Comments