Jess Documentation
LeadsView New Leads
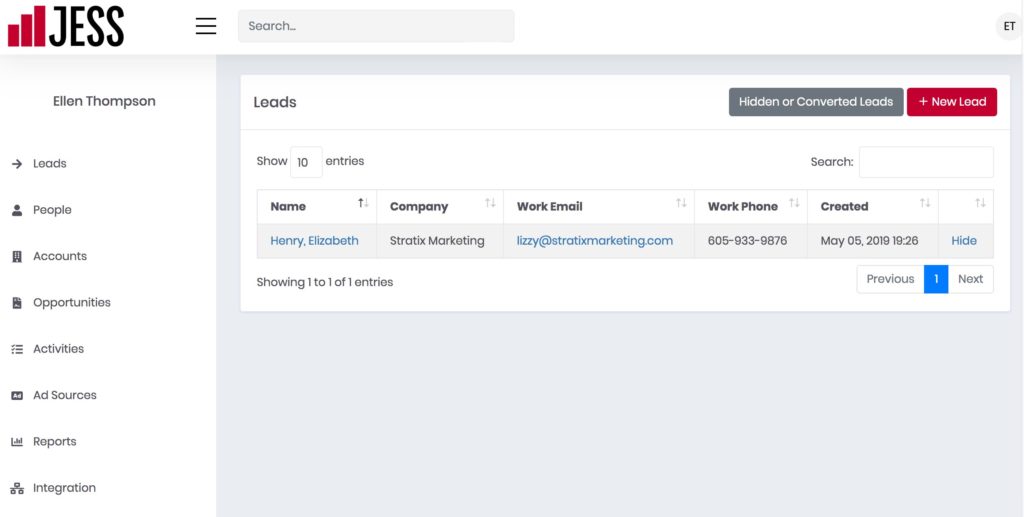
After you set up Jess, all new leads generated from your website will appear in the Leads table which can be viewed by clicking Leads in the left menu.
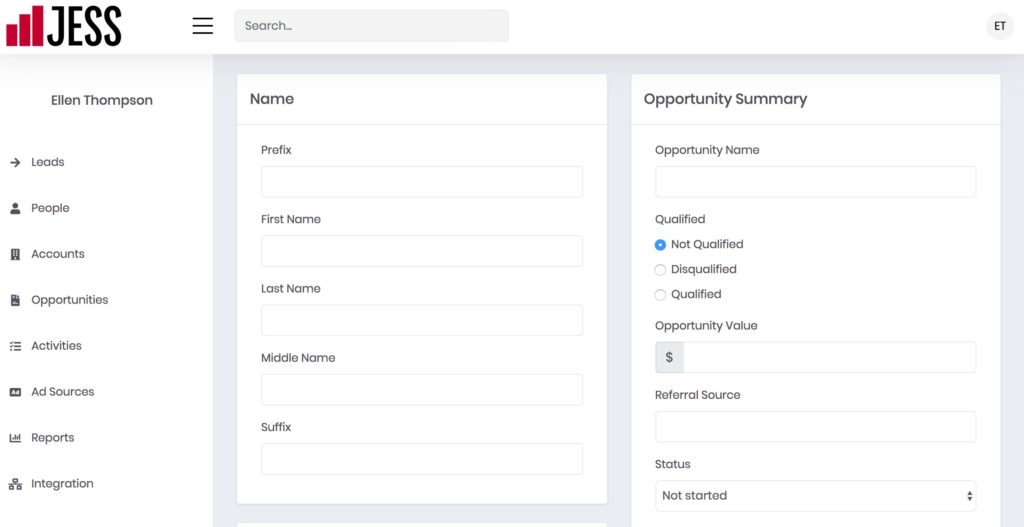
Click the lead’s name to see details about the particular lead.
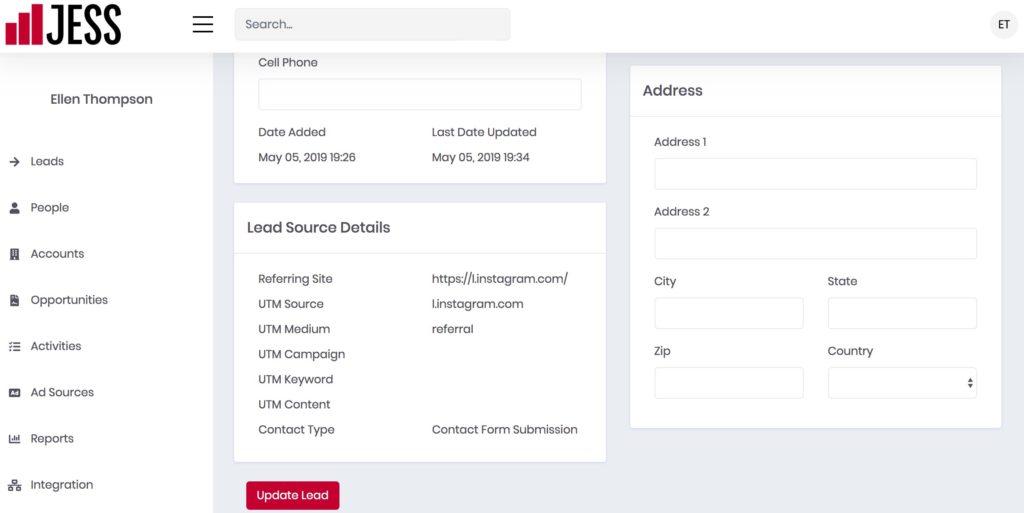
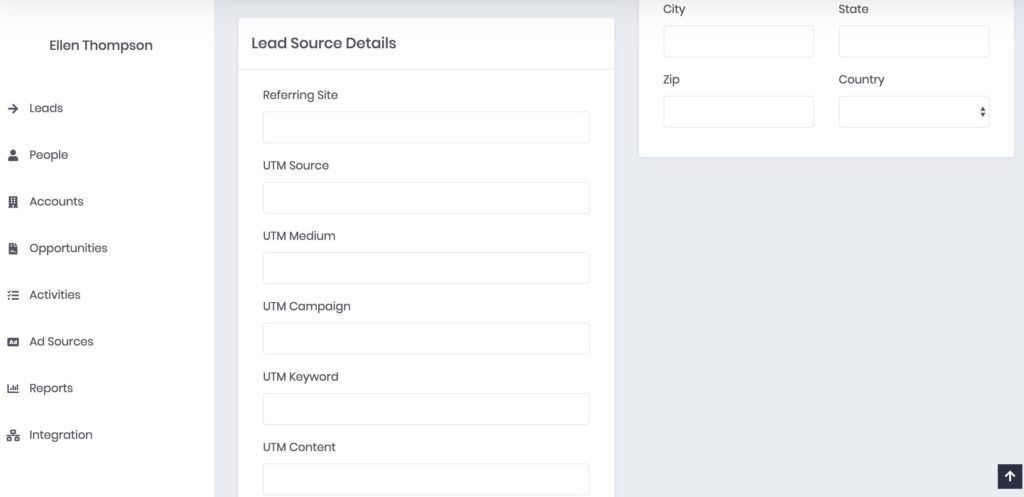
Scroll to the bottom to see the source details of your lead.
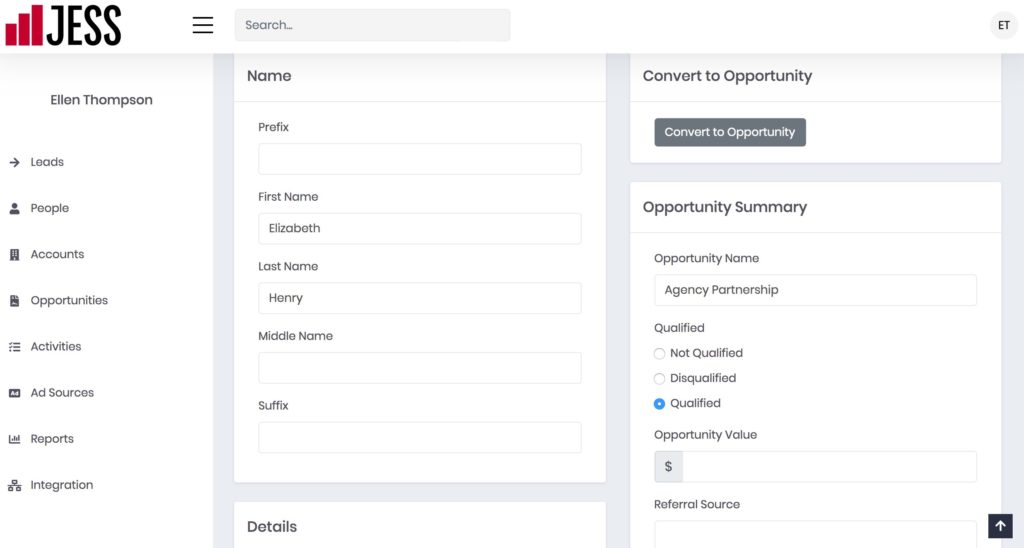
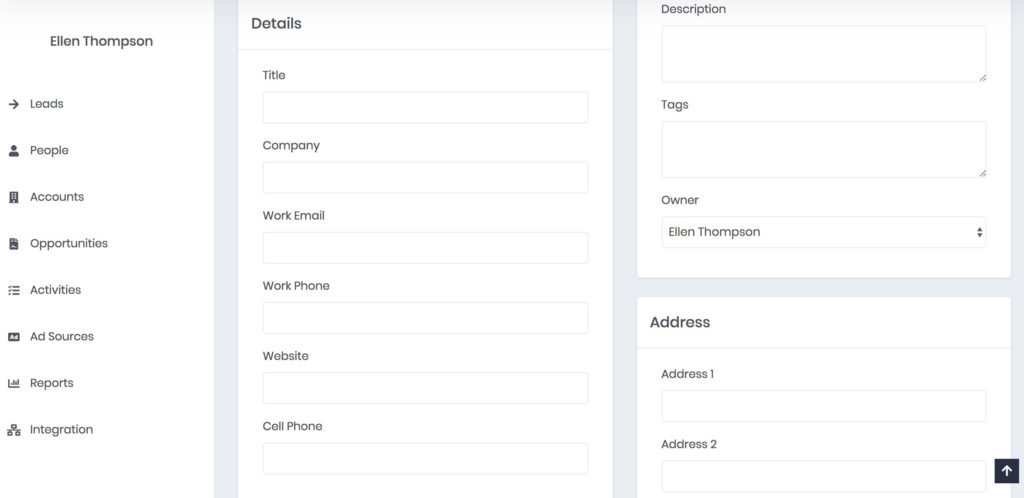
Scroll to the top to the Opportunity Summary section on the right. You can optionally create an Opportunity here. An opportunity is a potential sale. You can name the opportunity, assign a sales amount, add a description or tags, and note the lead’s status as started. If Jess recorded the referral source in the Lead Source Details section, it will override what you put in the Referral Source.
Qualifying Leads
If this lead is a qualified opportunity, i.e. a lead you might make a sale from, click Qualified and if it’s not, click Disqualified. If you are just going to delete the lead later because you are testing or otherwise don’t want this information in the future, simply leave the default Not Qualified selection.
Qualifying leads is important because it gives Jess the data it needs to report on the number of leads that are qualified or unqualified.
You can always edit your new opportunity later, so if you aren’t sure about any details, just name the opportunity and scroll down and click Update Lead.
Click back into the lead and then click Convert to Opportunity which will create a new account, contact, and opportunity record from this single lead.
Entering New Leads Manually
If you are using Jess as your primary CRM, there will be occasions when you’ll want to enter leads manually.
To enter a new lead manually, click the red + New Leads button from the Leads screen.
In the left column, enter your lead’s name and details about your lead. You can enter your lead’s address information in the right column under the Opportunity Summary section. Note that only the last name is required.
You can optionally create an Opportunity. An opportunity is a potential sale. You can name the opportunity, assign a sales amount, add a description or tags, and note the lead’s status as started, and referral source. If this lead is a qualified opportunity, click Qualified. All of these fields are optional. You can always edit your new opportunity later, so if you aren’t sure about any details, just name the opportunity.
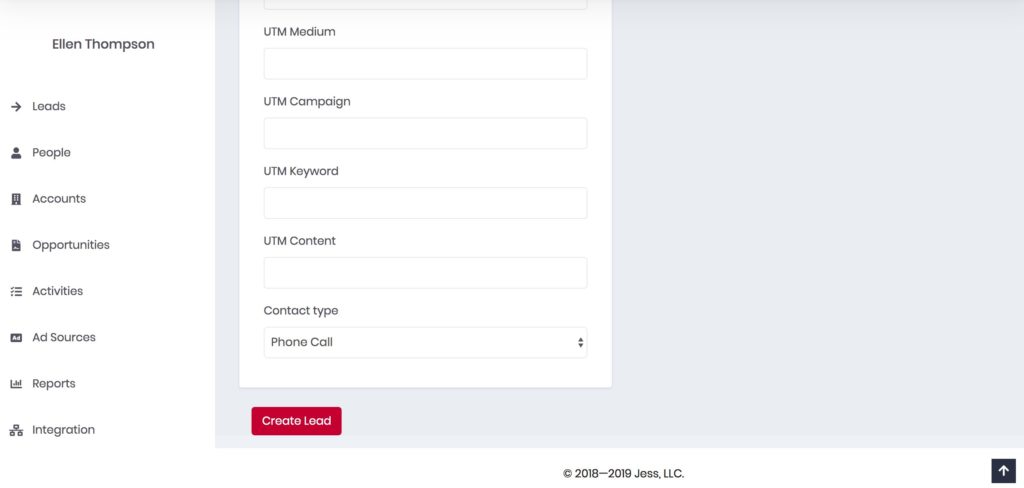
The Lead Source Details section is used to track source data from website leads, so you can skip this section and simply click Create Lead to finish.
Hiding Leads
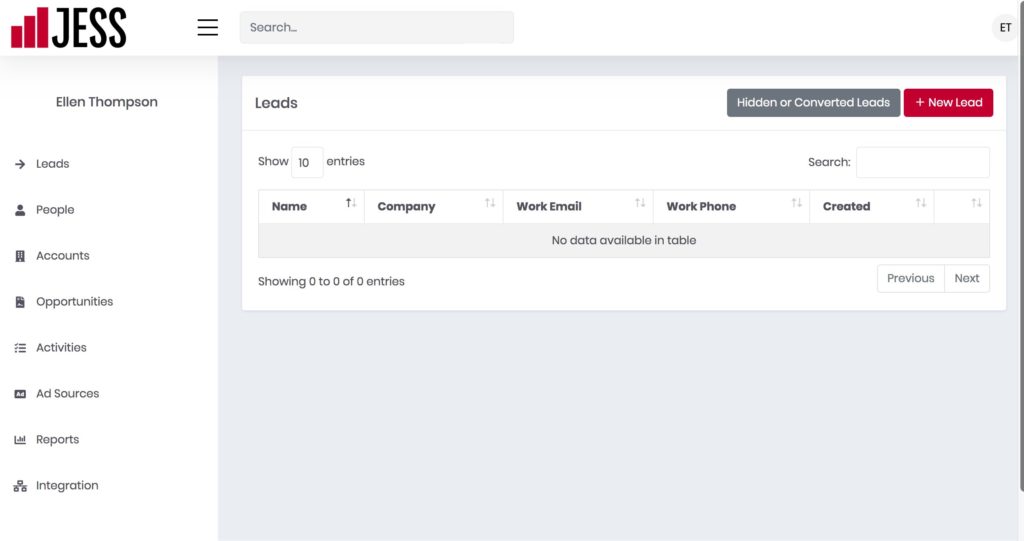
Leads that are converted to Opportunities are considered processed and disappear from the main Leads screen. To hide an unqualified or disqualified lead from this screen, click Hide next to the record you’d like to remove.
If you hide a qualified lead by mistake, you can click Hidden or Converted Leads to recover the lead.
You’ll be able to find leads that you’ve converted to opportunities in the Opportunities tab.