Jess is form tracking software designed to work with your own forms. If you are using a popular WordPress plug-in, SquareSpace or Weebly, you can use the following Quick Setup process. Use the Standard Setup if you want to manually map the fields of any form or if you are using a form not supported by our quick setup code.
First, make sure you have enabled the Forms as a paid add on in your Customer screen.
Next click on Setup, Forms. If you don’t see the Forms menu, you haven’t successfully enabled the Forms add on. Copy the form integration code, which looks like the following code snippet but with have your site’s integration key information, and paste it before </body> on every page of your website.
<script type=“text/javascript” src=“https://app.getjess.com/fi.js”></script><script type=“text/javascript”> new JessCRMForm({integration_key: ‘313d11e5-a553-493e-af63-2320acd4b0bb’}) </script>
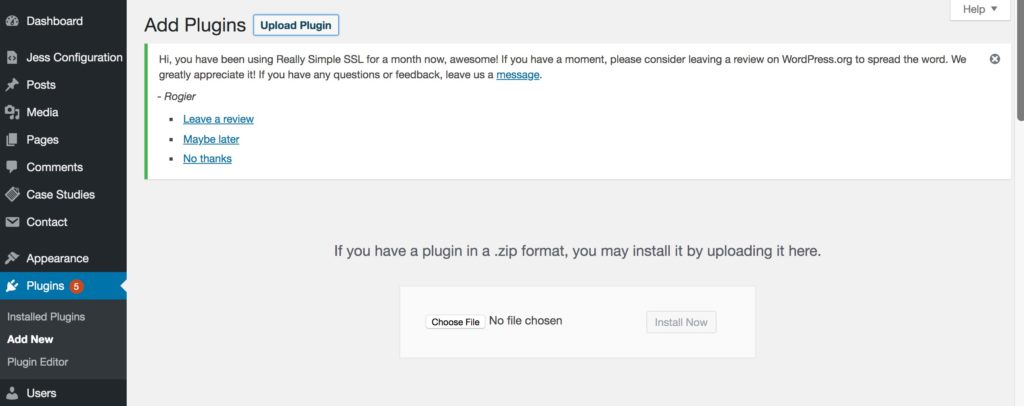
If you are using WordPress, you can download, install, and activate the Jess Configuration Plugin and your code will be installed properly. From WordPress click Plugins, Add New, Upload Plugin, Choose File, select Jess Configuration Plugin from your files, Open, Install Now, Activate Plugin.
Click Jess Configuration from the left menu and enter your integration key. You can find your key by clicking Setup, Forms from the Jess menu.
Submit a test contact form to make sure your data imports into Jess.
If you are using a different platform than the ones listed above or you would like to customize how your contact fields map to Jess, you will need to use the standard form setup process.


